Introduction
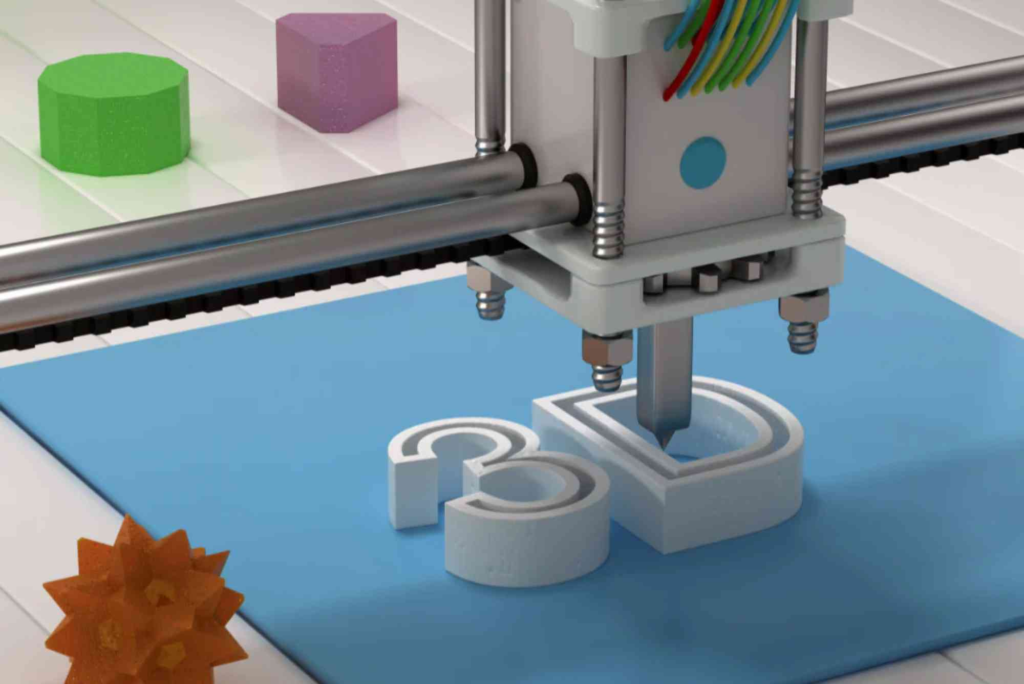
3D printing has rapidly transformed from a niche hobby into a cornerstone of modern manufacturing, prototyping, and creative design. Whether you are an engineer, product designer, or hobbyist, understanding how to design effectively for 3D printing can save time, reduce costs, and enhance quality. This 3D printing design guide aims to provide practical knowledge, proven techniques, and insights to help you create models that print successfully, look professional, and function as intended.
Why Design Matters in 3D Printing
3D printing is not just about sending a file to a machine; it is about creating designs that translate into strong, accurate, and visually appealing prints. Poorly designed models often lead to wasted materials, structural weaknesses, or failed prints. A solid design approach ensures efficiency and reliability. More importantly, thoughtful design makes it easier to experiment with shapes, textures, and even product customization, which is one of the greatest advantages of additive manufacturing.
Understanding the Basics of 3D Printing Design
Key Considerations Before Designing
Before you open any software, you must consider a few factors that directly impact your results. First, think about the purpose of your print. Is it a functional part, a decorative piece, or a prototype? Function dictates the choice of material, thickness, and structural features. Second, know your printer’s limitations. Not all printers can handle fine details, complex supports, or large-scale models. Finally, factor in the post-processing steps. Sanding, painting, or finishing may influence your initial design choices.
File Formats and Compatibility
Most 3D printing designs are saved in STL or OBJ formats. STL is the most common, offering compatibility across nearly all printers and slicers. However, OBJ files are better when working with colour or textures. Ensuring your design exports cleanly and without mesh errors is critical to avoiding print failures.
Essential Design Principles for 3D Printing
Wall Thickness
Wall thickness is one of the most common design issues beginners face. Too thin, and your print may break. Too thick, and you waste material unnecessarily. Generally, a minimum of 1 mm is safe for smaller models, but for larger objects or functional parts, walls should be at least 2–3 mm.
Orientation and Supports
Orientation plays a major role in the print outcome. A model printed upright may require more supports, while one printed flat may have better stability. Designing with supports in mind reduces print time and material waste. Strategic use of chamfers or fillets can also reduce the need for supports while enhancing strength.
Overhangs and Bridges
Most printers struggle with extreme overhangs. Designing parts with angles under 45 degrees helps prevent sagging. Bridges, or horizontal spans, must also be considered. While some printers handle them well, adding structural support in your design ensures consistency.
Tolerances and Fit
If you are designing parts that must interlock or move, tolerances are essential. Designing with 0.2–0.5 mm clearance between parts allows them to fit together without sticking. This is particularly important in mechanical designs such as gears, hinges, or enclosures.
Material Considerations in 3D Printing
Choosing the right material affects both aesthetics and functionality. PLA is beginner-friendly, biodegradable, and easy to print, but it is brittle. ABS is tougher but requires higher temperatures and emits fumes. PETG strikes a balance between strength and printability, while flexible filaments like TPU allow for elastic designs. Each material requires different settings, so always match your design specifications with the right filament.
Designing for Surface Quality
Surface finish is often overlooked in early design stages. Smoother surfaces require higher resolution printing, which means thinner layers and longer print times. Alternatively, you can design your models to minimize visible layer lines. For example, orienting curved surfaces vertically produces cleaner finishes. Combining good design with knowledge of print & finishing insights can help you achieve professional-quality results.
Functional vs. Aesthetic Design
Not all 3D prints need to be functional. Many users create art, models, or decorative items. Aesthetic design prioritizes surface detail and creativity, while functional design focuses on strength and precision. The most successful designs combine both, ensuring the model not only looks great but also performs as intended.
Advanced Design Techniques
Hollowing and Infill Control
Hollowing reduces material use and print time while keeping strength. Most slicers allow control over infill density. For prototypes or display items, 10–20% infill may be enough. For load-bearing parts, 50% or more ensures durability. Designing with infill in mind can significantly improve efficiency.
Designing for Assembly
Large objects often exceed the build volume of printers. Designing parts to be assembled later allows you to create bigger items. Adding snap-fit joints, dovetail connections, or screw holes in your design simplifies assembly and strengthens the final product.
Customisation and Personalization
3D printing thrives on customisation. From medical devices tailored to patients to personalized home décor, designing with customisation options adds value. Even businesses benefit from integrating personalized elements, such as incorporating custom packaging with 3D printed prototypes to create complete branding solutions.
Software Tools for 3D Printing Design
Several software tools cater to different skill levels. Tinkercad is beginner-friendly and web-based, perfect for simple models. Fusion 360 and SolidWorks offer advanced CAD capabilities for engineers. Blender is excellent for artistic and organic shapes. Regardless of your choice, learning the shortcuts, file repair tools, and mesh optimization features saves time and improves quality.
Common Mistakes to Avoid in 3D Printing Design
One frequent mistake is designing overly complex parts without considering printer limits. Another is ignoring material shrinkage, which may cause dimensional inaccuracies. Beginners also tend to overlook support removal, leading to fragile designs. By anticipating these issues, you improve print success rates and reduce frustration.
Post-Processing and Finishing Tips
Even the best design may need finishing touches. Sanding, priming, and painting enhance aesthetics. Chemical smoothing, particularly for ABS, creates glossy surfaces. Designing your model with post-processing in mind, such as flat surfaces for sanding, saves effort later. Good finishing not only improves looks but also extends durability.
Future Trends in 3D Printing Design
The future of 3D printing design is exciting. AI-powered design tools are emerging, automatically optimizing structures for strength and efficiency. Multi-material printing enables complex assemblies in one build. Sustainability is also shaping the industry, with eco-friendly filaments and reduced-waste design strategies becoming priorities. Keeping up with these trends ensures your designs remain relevant.
(FAQ)
What is the best software for 3D printing design?
For beginners, Tinkercad is excellent. Professionals prefer Fusion 360, SolidWorks, or Blender, depending on their project type.
How do I prevent my 3D print from failing?
Focus on proper wall thickness, supports, and orientation. Always check for mesh errors before exporting your file.
What is the best infill percentage for 3D prints?
It depends on the purpose. Decorative prints may need only 15% infill, while functional parts may require 50% or more.
Can I 3D print moving parts?
Yes, but you must design with proper tolerances. A clearance of 0.2–0.5 mm usually works for most printers.
What materials are most beginner-friendly?
PLA is the easiest to use, offering good print quality with minimal setup. PETG is also user-friendly while offering more strength.
Design is the foundation of successful 3D printing. By applying principles such as proper wall thickness, tolerances, orientation, and material selection, you ensure your prints are both functional and visually appealing. Whether you are creating prototypes, artistic pieces, or practical tools, this 3D printing design guide provides the roadmap to achieve better results.

